Crochet Heart Granny Square Tote Bag
There is a particular kind of pride in carrying a bag that started as eighteen separate squares of yarn. Not a kit, not a printed pattern stamped onto fabric — eighteen small hearts you made one round at a time, joined into something sturdy enough to hold your actual life.
This tote is a granny square project wearing a disguise. Each heart granny square uses the increase-and-corner logic you already know if you have ever made a granny square, just wrapped around a heart motif instead of a plain center ring. Eighteen of them, joined edge to edge, folded once, and given two reinforced straps.
Nothing here is fast. Budget it like a real project — a square a sitting, a few evenings for assembly — and mercerized cotton so the finished bag holds its shape instead of stretching under your keys and a water bottle.
What You Are Making
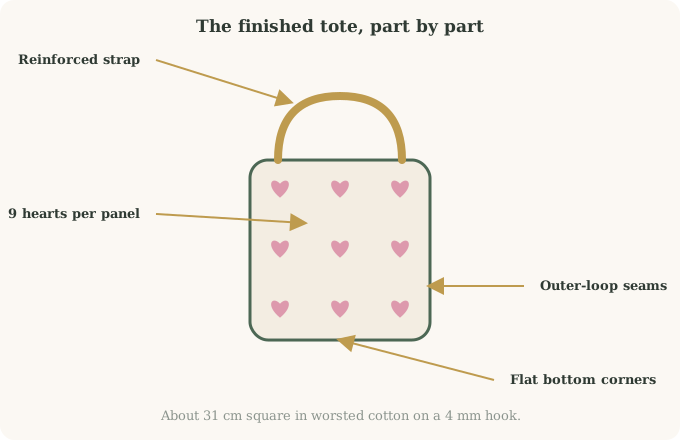
A crochet heart granny square tote bag is a structured tote built from eighteen heart-motif granny squares — nine seamed into a front panel, nine into a back panel — joined with a flat slip stitch seam and finished with two straps reinforced against stretching. Finished size is roughly 31 cm square, using worsted mercerized cotton on a 4 mm hook.
The anatomy of this bag
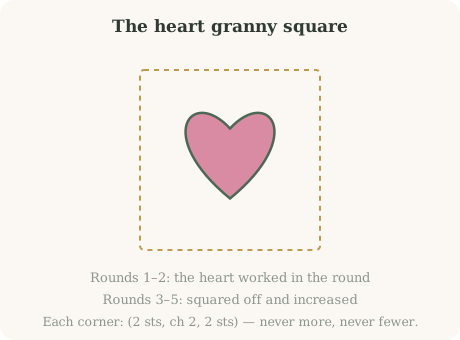
- 18 heart granny squares — each a heart worked in the round, then squared off with three border rounds
- A 3×6 panel — all eighteen squares seamed flat before anything is folded
- Outer-loop seaming — a slip stitch join that catches only the outer loop of each square, so the seam sits flat rather than ridged
- Two reinforced straps — double crochet locked with a final row of tight slip stitches so they cannot stretch under weight
- Flat, chained corners — a chain 1 at every turn keeps the bottom of the bag from puckering
Why mercerized cotton, specifically
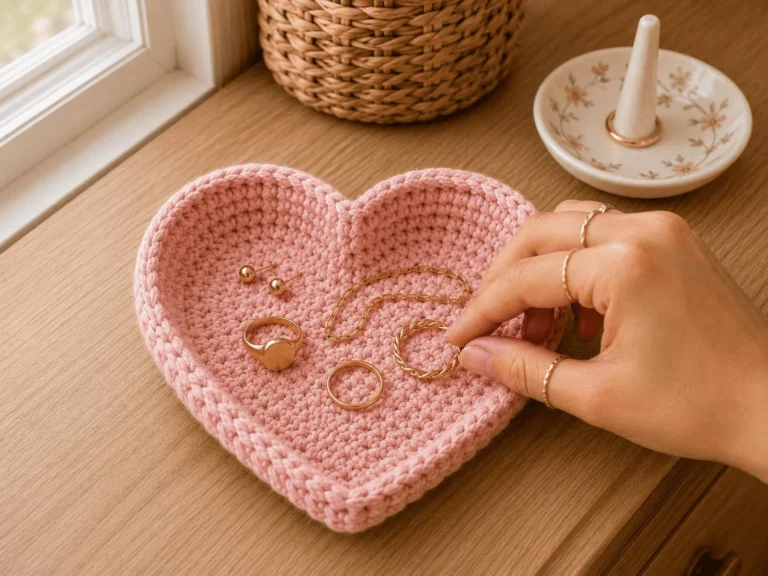
Acrylic and wool both have memory and stretch built in — useful for a jumper, a problem for a bag that has to hold its shape while it hangs from your shoulder full of things. Mercerized cotton has almost none of that give, which is what lets eighteen squares of open, textured stitching add up to a bag rather than a sack. If you have made the heart trinket dish, this is the same heart-shaping logic scaled up and boxed off into a square.
Materials You Need
Two colors, two hook sizes are not required — this pattern uses one hook throughout — but two colors of the same yarn base, so tension stays identical between the heart and the background.
| Item | Details | Notes |
|---|---|---|
| Heart yarn | Worsted mercerized cotton, ~54 g | Any strong contrast color against the background |
| Background yarn | Worsted mercerized cotton, ~186 g | Makes up most of every square plus both straps |
| Crochet hook | 4 mm | One hook for the whole project, squares and straps alike |
| Yarn needle | Blunt tip | For weaving in a genuinely large number of ends |
| Scissors | Sharp fabric scissors | Clean cuts keep tails from fraying before weaving in |
| Optional lining | Fabric and sewing kit | Worth adding if the bag will carry anything heavy daily |
Swipe the table sideways to see every column.
You will weave in a lot of ends: two per square minimum, times eighteen squares, plus the straps. Weave each square’s ends in before you touch a seam. Trying to hide tails through four layers of finished bag is a genuinely bad afternoon.
Abbreviations You Will See
| Short | Means | Short | Means |
|---|---|---|---|
| ch | chain | tr | treble crochet |
| dc | double crochet | hdc | half double crochet |
| sc | single crochet | sl st | slip stitch |
| st(s) | stitch(es) | MC | magic circle |
Swipe the table sideways to see every column.
The one thing worth practicing first
Round 2 of the heart — the round that actually makes the heart shape — is the only genuinely unusual round in the whole pattern. It fans eight treble crochets into a single stitch on each side to form the top lobes, then pulls everything back to a point with a chain-1 gap at the bottom. Everything after that is ordinary granny-square logic. Make one heart center in scrap yarn before you commit to seventeen more.
Crocheting the Heart Granny Square (make 18)
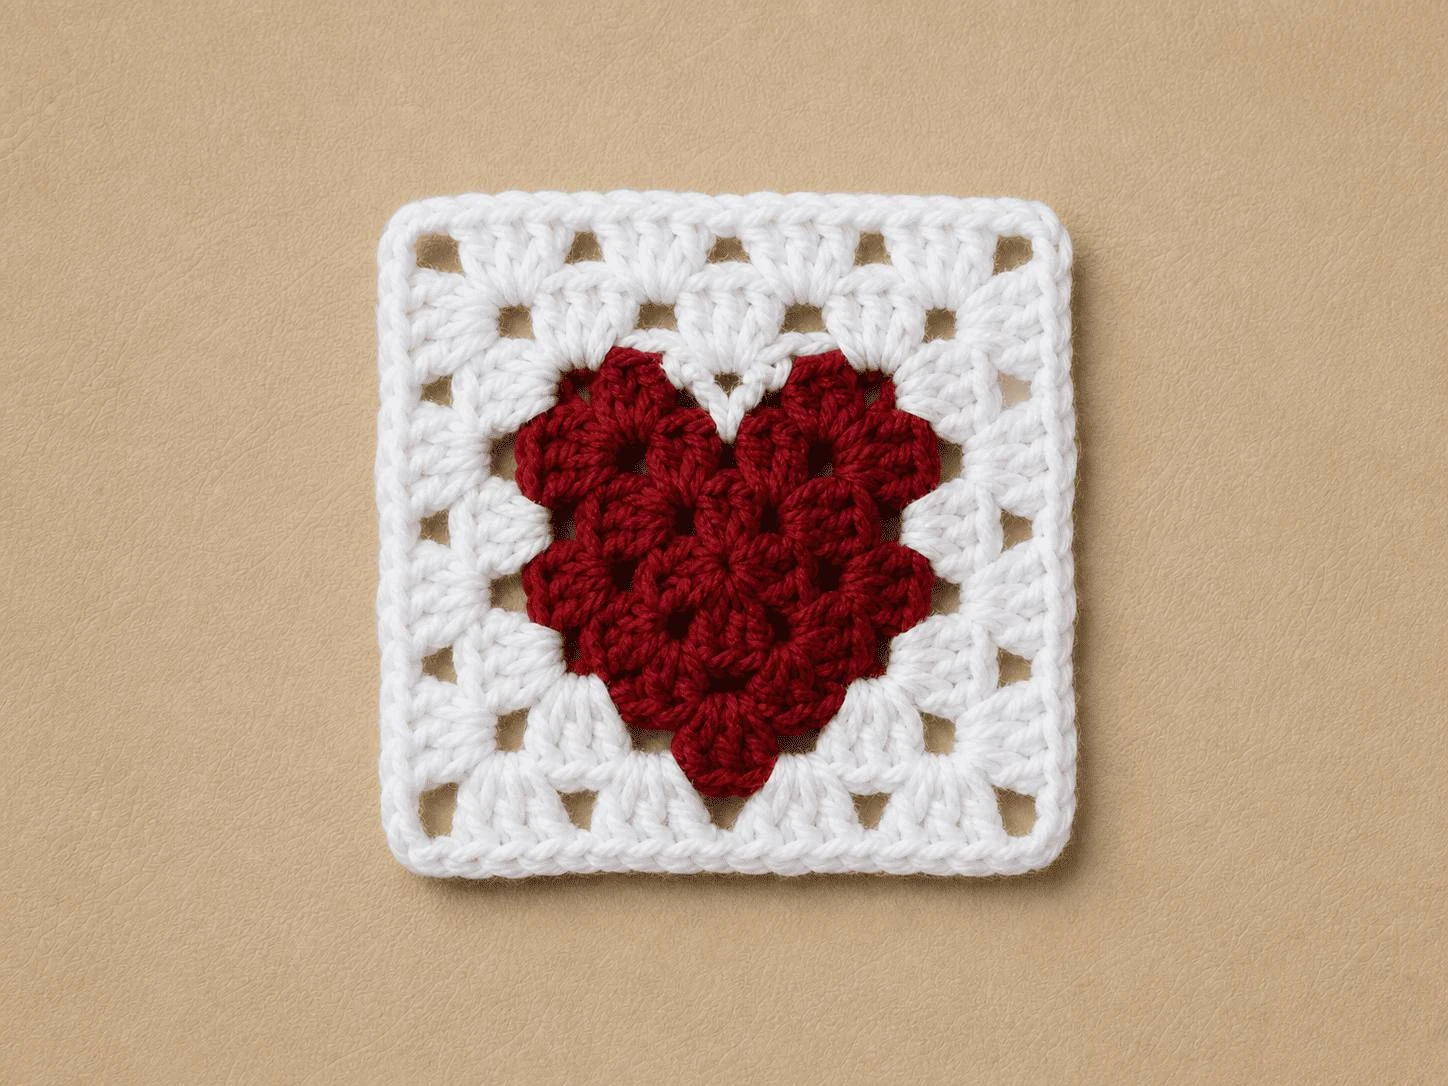
Every square in this bag starts the same way: a small heart worked in the round, then squared off with three border rounds that fill the gaps around the curves.
- Round 1 (heart center): with heart color, make a magic ring. Ch 3 (counts as first dc), work 11 more dc into the ring — 12 dc total. Slip stitch to the top of the ch 3 and pull the tail to close the ring. [12]
- Round 2 (heart shape): do not chain. Skip the first 2 sts. In the 3rd st, work 8 tr, fanning them to the right as you go. Work 1 dc in each of the next 2 sts. In the next st work (1 dc, 1 tr). Chain 1 — this gap is the bottom point. Mirror the other side: (1 tr, 1 dc) in the next st, 1 dc in each of the next 2 sts, 8 tr in the next st. Skip the last 2 sts and slip stitch between the first and last stitch of round 1. Fasten off.
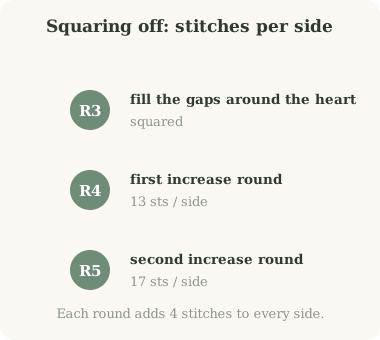
- Round 3 (squaring off): join background color to the 4th tr of round 2. Ch 3, dc in the same st. Work hdc, sc, hdc, dc, tr across the remaining side stitches to fill the curve. In the bottom-left corner work (2 tr, ch 2, 2 tr). Work dc, hdc, then 1 sc in the bottom chain-1 space, then mirror back out: hdc, dc. Bottom-right corner: (2 tr, ch 2, 2 tr). Continue tr, dc, hdc, sc, hdc up the second side. Top-right corner: (2 dc, ch 2, 2 dc). Across the top: hdc, dc2tog, 1 tr into the round-1 slip-stitch space, dc2tog, hdc. Top-left corner: 2 dc, ch 2, slip stitch to the top of the beginning ch 3.
- Round 4 (first increase): ch 3, dc in the ch-2 space below. Dc in each of the next 9 sts along the side. In each corner ch-2 space work (2 dc, ch 2, 2 dc). Repeat around all four sides. Slip stitch to close. [13 sts per side]
- Round 5 (second increase): ch 3, dc in the ch-2 space below. Dc in each of the next 13 sts along the side. In each corner ch-2 space work (2 dc, ch 2, 2 dc). Repeat around. Slip stitch to close. Fasten off. [17 sts per side]
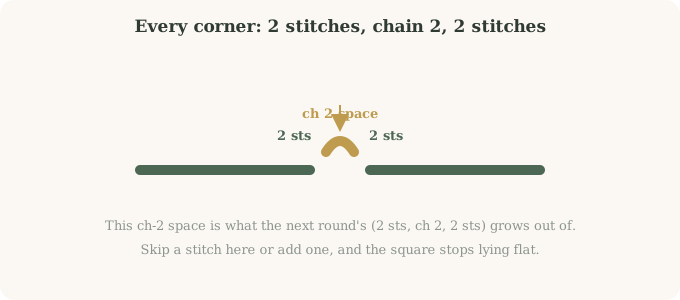
Make eighteen of these. Weave in every tail before you move to assembly — flat squares are forgiving, a seamed bag is not.
Seaming the Panels and Folding the Bag
Eighteen finished squares become one bag through a slip-stitch seam that catches only the outer loop of each square, so the join sits flat rather than ridged on the inside.
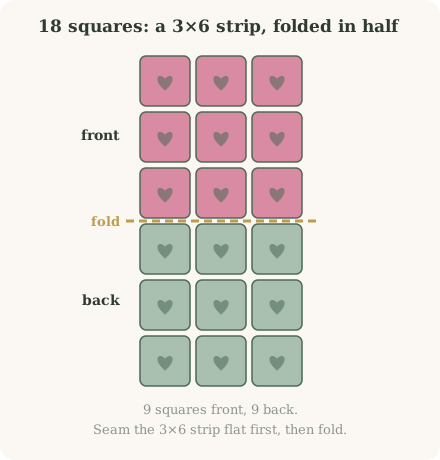
- Arrange the squares in a 3-wide by 6-tall grid, all hearts facing the same way, right side up.
- Join the first pair: place two squares back to back, right sides facing outward. Chain 1, insert your hook through the corner ch-2 spaces of both squares, and slip stitch them together.
- Seam the edge: continue slip stitching across, catching the front outer loop of the nearer square and the back outer loop of the farther square with each stitch.
- Bridge each gap: at the end of a square, slip stitch into both corner ch-2 spaces, chain 1, then move to the next pair and begin again in their corner spaces. That chain 1 is what stops the seam from bunching.
- Repeat until all eighteen squares form one 3×6 rectangular panel.
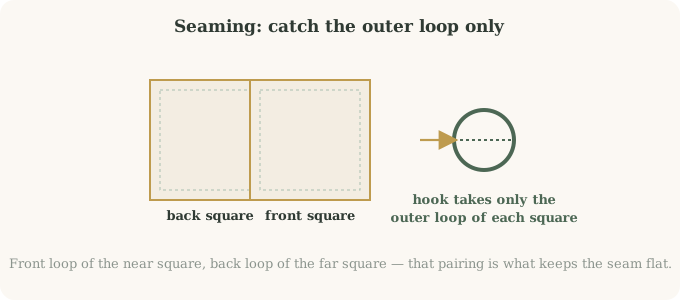
- Fold the panel exactly in half horizontally — you now have a 3×3 front and a 3×3 back, hearts facing outward.
- Side seams: attach yarn at a top corner ch-2 space, chain 1, and slip stitch down through both layers using the outer-loop method. Fasten off at the bottom. Repeat on the other side.
- Bottom seam: attach yarn at a bottom corner and slip stitch across. At each bottom corner, slip stitch into the corner spaces, chain 1, then slip stitch into the adjacent side’s corner spaces for a smooth turn. Continue up the far side. Fasten off.
Reinforced Straps and Attachment
Plain double crochet stretches under load — hang a laptop off it for a few weeks and the strap grows a visible inch. A final row of tight slip stitches locks the top loops in place and stops that.
- Foundation: chain 100 (yields a strap roughly 50 to 60 cm long once seamed and in use — adjust for a shorter or longer strap).
- Row 1: dc in the 3rd chain from the hook and in each chain across. [98 dc]
- Row 2: ch 2, turn, dc in the first st and in each st across. [98 dc]
- Row 3 (reinforcement): ch 1, turn, work a tight slip stitch in each st across — tight enough that the row visibly locks, not just sits there. Fasten off.
- Second strap: repeat rows 1 to 3, but do not fasten off this time — you need the live yarn to attach it.
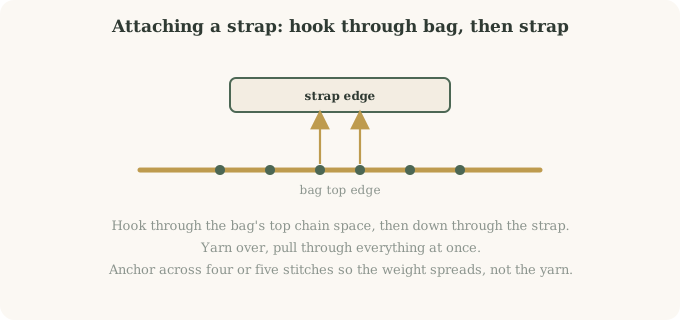
- Position: both straps attach to the top edge of the middle square on the front and back panels, which spreads the weight evenly.
- Flat slip stitch join: with the live yarn on the second strap, chain 1. Insert your hook into the top-right corner ch-2 space of the middle square, then down through the right edge of the strap. Yarn over and pull through everything on the hook.
- Anchor the width: move to the next stitch on the bag, hook under the front loop, then down through the middle of the strap. Yarn over, pull through. Repeat across the strap’s width, anchoring it over four to five stitches of the bag’s top edge.
- Span the top: slip stitch across the remaining top edge to the opposite middle square and attach the second strap the same way, checking it is not twisted.
- Finish: slip stitch the rest of the way around the top edge, fasten off, and weave in the last end.
Care, Troubleshooting and Quick Reference
Final checks before you call it done
- Run a finger along every seam — missed stitches show up most at the bottom corners, where the bag takes the most strain
- Count the stitches from each corner ch-2 space to the strap attachment point on both panels — they must match, or the bag hangs crooked
- Steam block or damp-pin the whole bag to even out tension and flatten any curl at the square edges
Care
| Situation | What to do |
|---|---|
| Light everyday use | Spot clean with a damp cloth and mild detergent |
| A full wash | Mesh laundry bag, gentle cold cycle, lay flat to dry — never tumble dry, heat shrinks cotton and distorts the shape |
| Heavy daily carrying | Sew in a simple fabric lining for extra structure and a place for small pockets |
Swipe the table sideways to see every column.
When something looks wrong
| Problem | Likely cause | Fix |
|---|---|---|
| Heart looks lopsided | Uneven tension or a miscount in round 2 | Recount the 8 tr on each side — they must match. Mark the center chain-1 space. |
| Squares are not quite square | Corners worked inconsistently | Always exactly (2 sts, ch 2, 2 sts) in every corner space — never more, never fewer |
| Seams look bulky | Missed the chain 1 between square joins | Always chain 1 moving from one pair of corner spaces to the next |
| Straps stretch under load | Skipped the slip-stitch reinforcement row | Unpick to row 2 and add a proper tight row 3 |
| Bag hangs crooked | Straps attached to mismatched stitches | Count from the corner space to the attachment point on both panels |
| Corners look pointy, not rounded | Corner turn pulled too tight while seaming | Chain 1 between the vertical and horizontal seams so the fabric can curve |
Swipe the table sideways to see every column.
Crochet Heart Granny Square Tote Bag FAQ
Eighteen Squares, One Bag
What started as a stack of separate heart motifs is now something you can sling over a shoulder and load with an actual afternoon’s worth of things. That is the real payoff of a granny-square project: nothing about the construction is fast, but nothing about it is hard either — just eighteen repeats of a shape you now know cold.
Before you call it finished
- Every seam checked, especially the bottom corners
- Both straps anchored to matching stitches on front and back
- Bag steam-blocked so all eighteen squares lie flat
- All tails buried, none left to work loose with wear
Like working in granny squares?
The same corner logic — minus the heart — builds a faster weekend bag.